
Driving Range Camera Systems: A Practical Plan for Pilot Deployment
Primary keyword: driving range camera system
Choose one use case for the pilot
Start with one job: premium coaching clips, member practice replay, event-day highlights or social content. Each requires a different operating model. Define success with usable clips per session, staff time, player uptake, repeat use and feedback.
Survey the range before purchasing
Walk the location at the time it will be used. Check sun direction, shadows, traffic, safe space around the unit, turf, mounting, connectivity and views for drivers, irons and wedges.
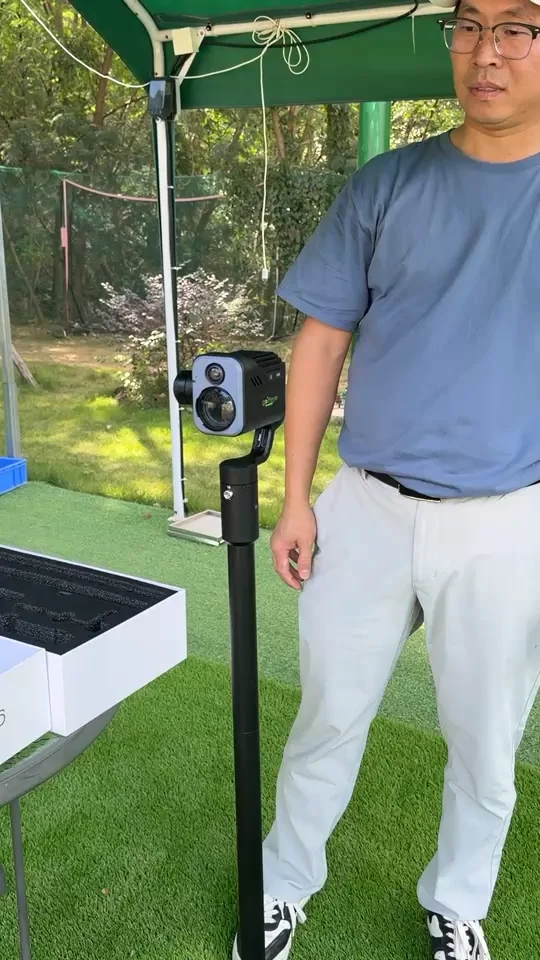
G20 documents an extension rod with ground spike and a tripod option for suitable flat ground. Confirm stability, environmental limits, runtime and weather-protection needs for the proposed site.
Write the operating playbook
Document opening checks, camera placement, selected mode, connection, live support, end-of-day charging and incident reporting. Photos of correct orientation are often more useful than text alone.
If automatic downloads, highlights or cloud upload are enabled, record the owner, purpose and test result for every setting.
Expand only after proof
After two to four weeks, review evidence with operations, coaching and marketing. Scale only when the selected player journey, staff training, maintenance and media governance are all working.
Frequently asked questions
What is the right first use case for a range camera pilot?
Choose one measurable journey, such as coaching clips, member replay, event highlights or social content, rather than trying to serve every use case at once.
When should a driving range scale beyond a pilot?
Scale only after the player journey, staff training, maintenance and media governance have worked consistently in a real operating period.
Evaluate the workflow for your facility
Use the current Golfeye G20 product and App workflow as a starting point, then validate the camera position, operating conditions, connectivity and media delivery process for your own site.